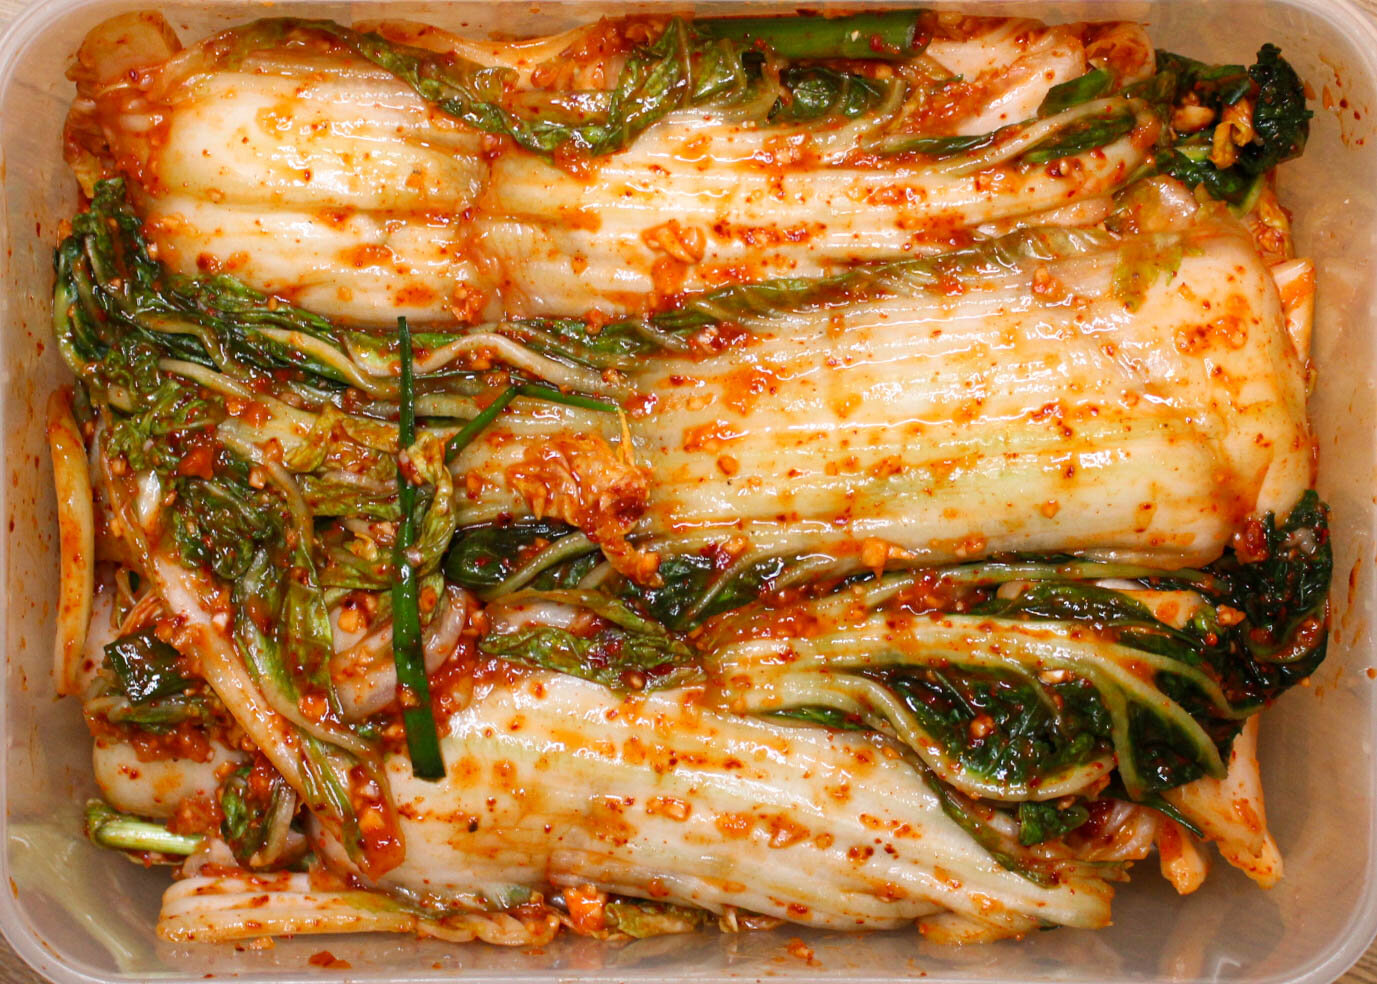
Mom's Traditional Kimchi | Authentic Recipe
Pronounced: kim-chee
My Mom makes the best kimchi. She learned this recipe from my Grandma, who was known for being the best home cook in her Incheon, Korea. This is real kimchi. It’s authentic, classic, and timeless. Her kimchi makes the best side dish to accompany any meal, but also makes the best dishes like Kimchi Fried Rice, Kimchi Pancakes, and Kimchi Stew.
I cherish this recipe for many reasons, and it will surely be passed down from one generation to the next. Had to title this as Mom’s Traditional Kimchi because this is a very special recipe that’s dear to my heart. I felt honored to learn from her, and best of all, it’s just damn good.
What: Baechu Kimchi | Napa Cabbage Kimchi. This is the classic kimchi. Baechu Kimchi, a staple in Korean cuisine, is a famous traditional side dish of salted and fermented napa cabbage.
Taste: It’s a fermented dish. It’s sour, some what spicy, umami, and tangy. The flavor will change as it ferments more.
How It’s Made: Chop napa cabbage. Coat in water then salt. Let it soak up all the salt. Meanwhile, prepare kimchi seasoning. Add kimchi seasoning to salted cabbage and mix well. Pack it in airtight container. Let it ferment and enjoy it.
What to Serve it With: So many things. First, don’t eat it by itself. No Koreans do that. Eat with rice. Eat it with eggs. Eat with steak and mashed potatoes. Make Kimchi Fried Rice, Kimchi Stew, Kimchi Pancakes. Hell, I like to eat with Mac & Cheese. It’s unbelievably good with so many things. It gives you that umami kick.
Notes & Tips: This is a very special recipe that my Mom uses. No substitutions if you want her authentic kimchi. All ingredients can be found in a Korean Grocery Market. We will be only using 1 large napa cabbage, so this can easily be enjoyed by individuals, couples, and a small family. Refer to the picture below to understand the terms I use in the recipe.
Kimchi Anatomy
Photo Credit: Kitchen Stories

Mom's Traditional Kimchi
Ingredients
Notes
*All ingredients can be found at the Korean Grocery Store.*You MUST use granulated plain salt.
*You can add more fish sauce and baby shrimp if you would want to make your kimchi saltier. The saltier it is, the longer it will last. But keep in mind: you don't want your kimchi to be overbearingly salty.
*Use new sugar. It’s sweeter than white sugar and has different components. This is a recipe secret my Grandma passed down to my Mother.
*Use high-quality Korean red pepper powder. We don’t use a specific brand. We just find these 2 qualities:-Product of Korea -Not too cheap (if too cheap, it’s likely to expire soon). Price should range from $30-$55 for 1kg (2.2lbs)
*Optional: If you’re feeling extra fancy, don't use apple or pear (as listed as optional), use a very overripe persimmon: Use ⅛ tsp of new sugar + 1.5 cup of persimmon puree (we blend up very ripened persimmons from our yard) instead of ½ tsp Korean new sugar + 1 Tbsp plum juice. This is something we do during the fall seasons when persimmons are in season!
INSTRUCTIONS:
Chop Cabbage
Refer to Kimchi Anatomy image (above) for bolded words
Take off the outer layer of the cabbage, but do not throw it away and do not chop it. This will be used later.
Place the cabbage on a cutting board, and hold it up vertically so the bottom of the cabbage is facing up. Cut down halfway. Then tear the cabbage apart with your hands so you have two halves. Slice off the core at the bottom of the cabbage and discard core.
Split cabbage with hands into halves.
Cut off core and discard.
Separate cabbage into individual layers and stack them. Cut between the rib (crunchy part of cabbage) and leaf (not the crunchy part—loose leaf on top of rib)—shown in picture below.
Chop rib and leaf into smaller pieces. Leaf pieces can be big because they will shrink.
Place chopped pieces into an extra large bowl, and don’t forget to include the outer layers we took off earlier (again, don’t chop these outer layers).
Our chopped cabbage ended up being 4.125lbs or 66oz.
Cut between the rib (crunchy part of cabbage) and leaf (not the crunchy part—loose leaf on top of rib).
Rib - chopped
Leaf - chopped'; can be bigger than rib pieces because it will shrink
Cabbage chopped. Notice how leaf is chopped bigger than rib pieces.
Wet Cabbage
In your sink, wet cabbage with cold water. This is so the salt sticks to the cabbage. We are NOT washing the cabbage (we will do that later); think of it as coating the cabbage with water. Place soaked cabbage in a strainer to drain excess water.
Layer & Salt Cabbage
The type of salt you use in Kimchi matters. My Mom uses 2 Tbsp of Granulated Plain Salt. You can find this in any grocery market. We buy it in bulk from Costco.
In an extra large bowl, place a layer of the chopped cabbage and sprinkle salt so that each chopped cabbage is coated in salt. Repeat until all cabbage and salt is used. Don’t forget to add in the outer layers we took off at the beginning on top. Make sure they are salted as well.
Layer large bowl with cabbage then sprinkle in salt.
Don’t forget the outer layers. Add on top and salt.
For our huge kimchi bowl, this was 4 layers of chopped cabbage (4.125 lbs) with ½ Tbsp of salt added to each layer (2 Tbsp of salt total).
If you don’t have an extra large bowl, that’s fine. Just use the biggest bowl you got and be sure to evenly use up all the salt within each layer.
Cover Cabbage & Wait
Cover the cabbage bowl. My mom just used a large strainer.
Let it sit for about 3.5 hours to prune up a bit (it won’t prune like raisins, but it will get a bit smaller).
After 1 hour, toss around the cabbage and place the outer cabbage layers back on top. Then gently press down on the cabbage so it’s nicely packed. Repeat again 1 hour later.
After 1 hour, toss cabbage, place outer layers on top, and gently press down. Repeat again after 1 hour.
After 1 hour, toss cabbage, place outer layers on top, and gently press down. Repeat again after 1 hour.
Prepare Ingredients
While chopped cabbage is doing it’s thing (above) for 3.5 hours, prepare all the ingredients that will flavor up this cabbage into kimchi.
Flour Mixture
We are going to make this flour mixture that will help with binding the seasonings to the napa cabbage.
Do not turn on the stove’s heat just yet. In a small pot, add in 1 cup of water and 2 Tbsp of all-purpose flour. Whisk ingredients so they are well incorporated. Turn ON the heat to medium-high, and begin mixing this until it creates very slow bubbles (2-3 minutes). Once bubbles form, reduce heat to medium, and keep mixing until a thick consistency forms (3 minutes). Turn off the heat and move it away from that heat. Set aside. It needs to cool completely.
Turn ON the heat to medium-high, and begin mixing this until it creates very slow bubbles (2-3 minutes).
Flour Mixture: Keep mixing until a thick consistency forms like above.
Chop 5 Green Onions
Chop off the very bottom roots and discard. Chop green onions into 1.5 inch pieces. For the bottom part (hard, white stem part) of the green onions, slice into halves as we don’t have thick pieces of green onions.
Food Processor | Onion, Garlic, and optional Asian pear OR Fuji apple
In a food processor, grind ½ medium brown onion until it turns into a textured blend; do NOT blend into juice. Pour into a bowl and set aside.
In that same food processor, mince garlic. You will need ⅔ cup of minced garlic (125g). If you already have minced garlic, skip this grinding step and gather 125g of minced garlic. Pour into the same bowl above and set aside.
If using Asian pear or fuji apple— In a food processor, grind ½ Asian pear (seedless and skinless) OR ½ Fuji apple (seedless and skin on) into a textured blend. Pour into the same bowl and set aside.
Optional: Blend the 1 Tbsp of salted fermented shrimp in the same food processor when grinding the onion or Asian pear/apple (I don’t think the shrimp will blend by itself because it’s a small amount). Completely optional though — we personally blend this because it soaks into the cabbage better this way. Pour into the same bowl and set aside.
Wash Cabbage
After 3.5 hours: the chopped cabbage has soaked in the salt and should have pruned a bit. We now need to wash and rinse it.
In your sink, submerge chopped cabbage in COLD water. Gently toss it around to rinse out any dirt. Do this 2 times. Place cabbage in a strainer, and let the excess water drain for 15 min. Tip: Slant up the strainer to drain water.
Wash cabbage in cold water, submerged.
Tip: Slant up the strainer to drain water.
Make Kimchi
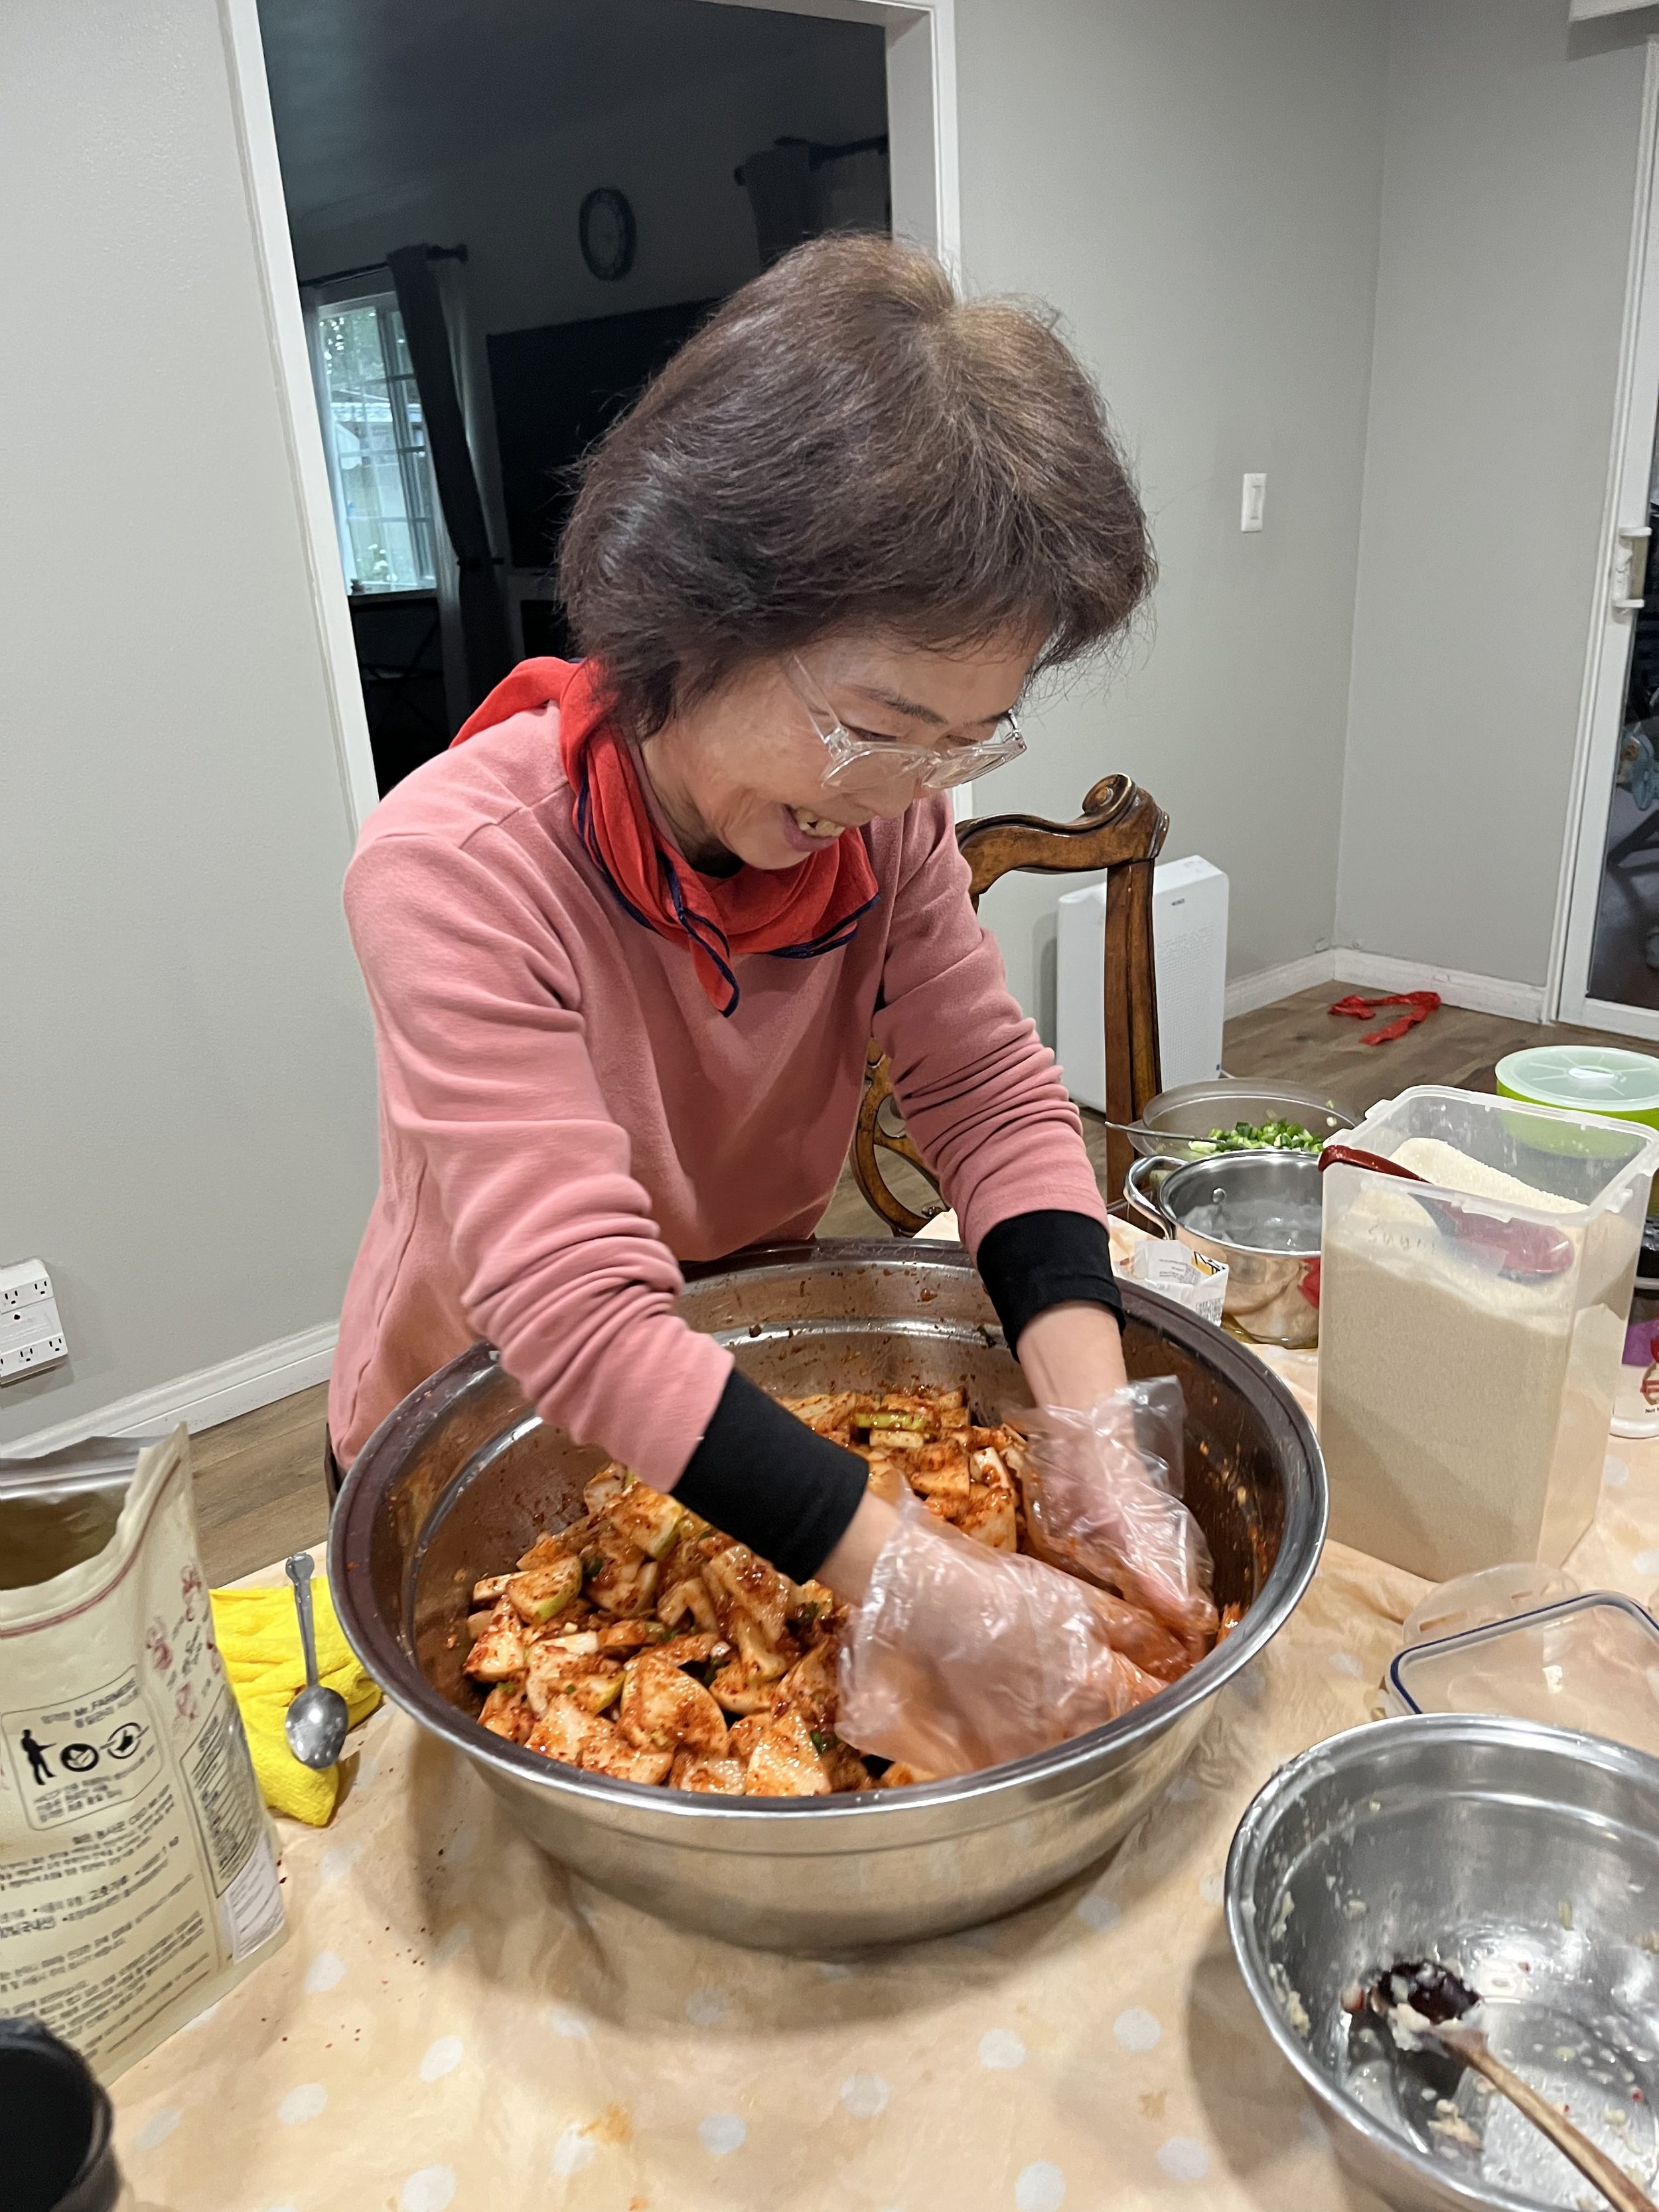
In a very large bowl, add in all the ingredients and gently mix with hands (wear gloves).
Chopped cabbage, drained
Flour mixture
Green onions, chopped
Brown onion, textured blend
⅔ cup garlic, minced (125g)
Optional: Asian Pear OR Fuji Apple, textured blend
1 Tbsp Salted Fermented Shrimp (Saeujeot) (26g)
1½ Tbsp Three Crab Fish Sauce (30g)
1½ Tbsp Korean Fish Sauce for Kimchi (30g) (We use CJ brand)
1 Tbsp Korean plum extract (We use CJ brand)
½ tsp Korean new sugar*
½ cup Korean red pepper powder (57g), be sure to use high quality powder*
*All ingredients can be found at the Korean Grocery Store. Please refer to photo below to see exact products we used.
*Add more fish sauce and baby shrimp if you want saltier kimchi. The more salt you add, the longer the kimchi lasts. But keep in mind: you do not want overbearingly salty kimchi!
*Use new sugar. It’s sweeter than white sugar and has different components. This is a recipe secret my Grandma passed down to my Mother.
*Use high quality Korean red pepper powder. We don’t use a specific brand. We just find these 2 qualities:
Product of Korea
Not too cheap (if too cheap, it’s likely to expire soon). Price should range from $30-$55 for 1kg (2.2lbs)
*Optional: If you’re feeling extra fancy, use ⅛ tsp of new sugar + 1 cup of persimmon puree (200g) (We blend up very ripened persimmons from our yard then freeze it) in place of ½ tsp Korean new sugar + 1 Tbsp plum juice. This is something we do during fall seasons when persimmons are in season!
Left to right: Three Crabs Fish Sauce, CJ Plum Extract, CJ Korean Fish Sauce for Kimchi, Salted Baby Shrimp, New Sugar (bottom).
Store in Airtight Container
Store kimchi in an airtight container. We store kimchi in Lock & Lock containers. You can use Mason jars. Any airtight container will do.
Place outer layers on top (this helps cover the air gaps between the chopped kimchi between).
Set aside, at around 60℉ temperature overnight. My Mom just sets it aside in our outdoor patio (during winter season— 50℉ to 60℉, for those living in East cold/colder regions, find coldest area in your home) or dining room (during summer season— room temperature) depending on the season.
If making during hot summer season, this may only need to only sit out overnight for only 4-6 hours. You will know when to refrigerate when liquid forms all throughout (next step).
Refrigerate Kimchi & Enjoy It (later)
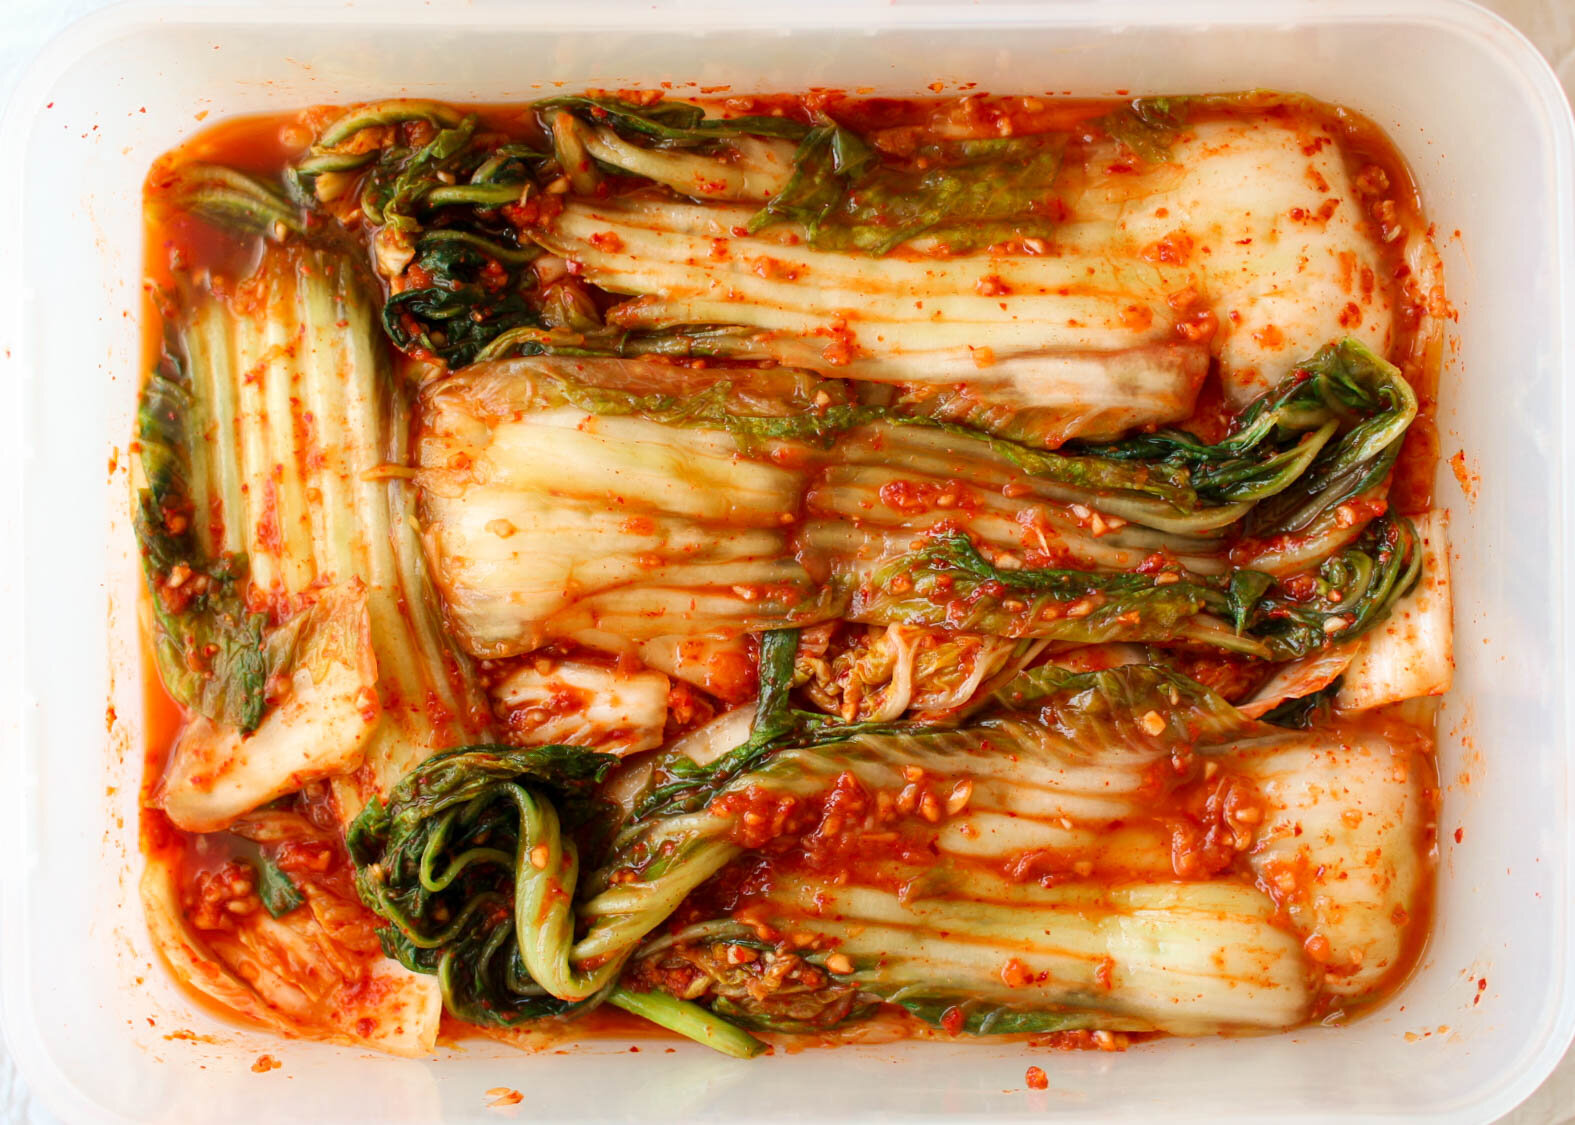
The next day: Once the kimchi forms liquid all throughout the container and the kimchi has pruned up a bit, it’s time to refrigerate.
After one night: One night later sitting out in room temperature, kimchi has shrunk and liquid has formed all throughout container
Refrigerate and taste kimchi that’s at the bottom every few days. Toss around kimchi so that the kimchi on top gets rotated to the bottom and the kimchi on bottom gets rotated to the top (then cover with outer layers at the very top).
The taste will change as it slowly ferments. Enjoy it when it tastes perfect for you. We eat fresh kimchi (barely fermented) and very fermented kimchi depending on our moods and the dishes we are having; we eat it at every stage.
Fermentation time varies on how much salt was used and season. It’s key to taste as it ferments. Your kimchi should taste tangy and slightly sour, and even more so when it’s very fermented.
Some other pointers:
Kimchi should be always refrigerated.
Yes, eat the outer layers (just chop it up).
Chop up kimchi into smaller pieces when serving/ready to eat. Don’t chop all of it in the container.
Kimchi ferments faster in warmer seasons, so keep this in mind if you are making this especially during summer. It will ferment much faster!
It will last a long time. It’s a fermented food! Our kimchi can last up 3 months especially in the colder seasons! That’s when you make some good kimchi fried rice, stew, pancakes, etc.
This is a timeless, classic recipe, and quite honestly probably the best it can get. I feel so lucky to have learned this from my Mom. It doesn’t get more authentic than this, and this opens up so many tasty kimchi dishes for you to make!
Eat Well,
Sarah
Follow and Tag me your Kimchi @ahnestkitchen


